


Generally a backpacking pack is usually a literal ache within the neck. That’s why it’s important to discover ways to pack a backpacking pack correctly and evenly distribute the burden – so you possibly can hike longer and pain-free.
Whilst you might imagine you possibly can simply shove all the things in your pack and name it a day, deliberately packing your pack so the burden is balanced, and so the objects you want most are simply accessible, could make a giant distinction.
All it takes is slightly time and observe (and the guidelines on this put up) to be taught a system that works finest for you.
There are some finest practices and basic guidelines that it is best to all the time try to stick to each time you load up your pack so it’s simpler in your physique.
So, when you’re new to backpacking or simply need to brush up in your abilities and backpack in additional consolation, maintain scrolling to discover ways to pack a backpacking pack for a multi-day mountain climbing journey.
Sponsored by REI Co-op
is our favourite out of doors gear retailer and a long-time supporter of our work right here at Bearfoot Concept. We respect their 1-year return coverage, their Member-only coupons, and the truth that REI Members obtain 10% again on their purchases yearly. We solely advocate merchandise we really love and assume you’ll love too.
How one can Pack a Backpacking Pack: Step-by-Step
Even with a whole lot of gear, it’s doable to really feel like you might be carrying a lighter load when you could have a well-packed bag.
Not solely do you need to be strategic in the place you place particular objects for group, however doing so can really improve your consolation on the path.
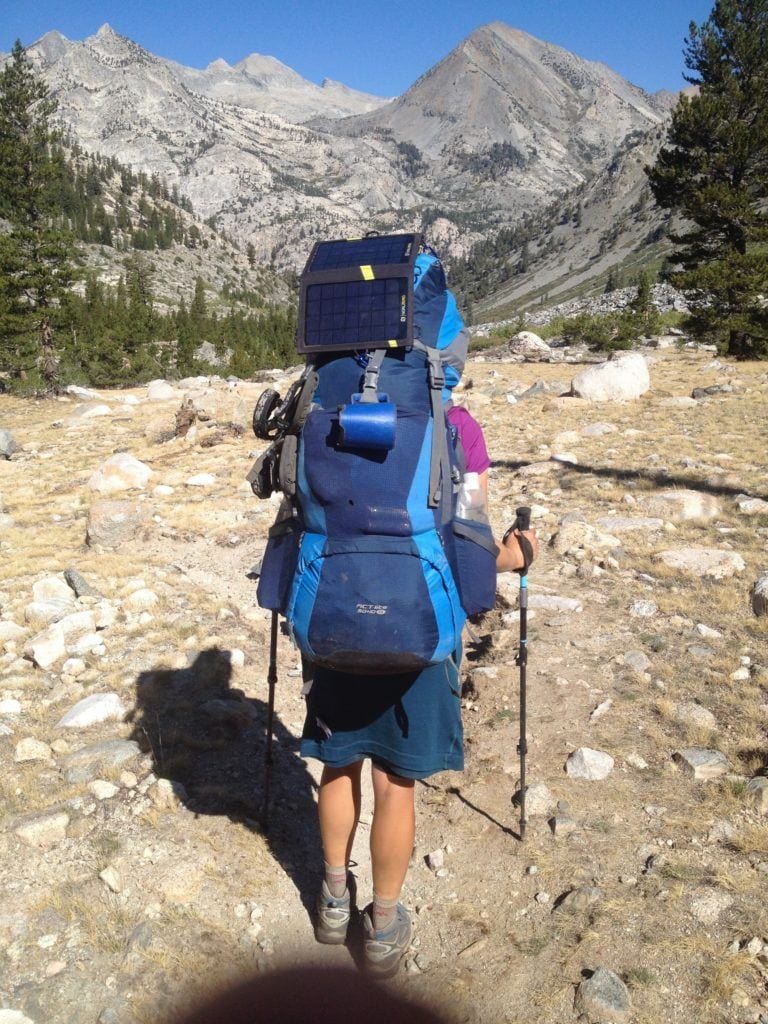
I’ve come a good distance in studying easy methods to pack a backpack since my first main backpacking expertise on the John Muir Path – are you able to consider that is what my backpacking pack used to seem like?!
An excellent rule to observe while you pack your backpack for tenting and mountain climbing is to pack in three elements: backside, center, and prime.
At all times pack your most light-weight gear within the backside first, steadiness the load by maintaining heavy issues within the heart, and stash your necessities for the path on prime.
This manner the stuff you want are all the time inside attain and don’t require taking off your pack and digging by way of the entire thing.
Under I share my system for easy methods to pack a backpacking pack. The checklist of things could also be slightly completely different than yours, but it surely ought to function a helpful information while you’re organizing on your subsequent journey.
1. Lay out All of Your Backpacking Gear
Since backpacking the JMT, I’ve discovered easy methods to shed some weight from my pack, invested in some light-weight backpacking gear, and developed an environment friendly system for packing.
Earlier than beginning with the three elements of packing a pack, step one is to put out your whole gear to see when you can lower something out, then set up your stuff into piles:
- Shelter/Sleeping
- Garments
- Meals
- Cooking gear
- Small stuff that you just want quick access to throughout the day
Getting organized earlier than you set all the things in your backpack will:
- Can help you undergo your backpacking guidelines and ensure you haven’t forgotten something, and
- Forestall you from packing additional objects that you just don’t really want.
2. Pack Your “Backside of Pack” Gadgets
This part is reserved for stuff you gained’t want till you get to camp. Something huge, cumbersome, and comparatively “squishable” that may be compressed into the underside of your pack goes right here. Consider it because the non-essentials when you’re out on the path.
First, I often pack my sleeping bag in a and put that on the very backside. Then I take advantage of unfastened clothes that I gained’t want throughout the day to fill within the gaps on the perimeters, like the bottom layers I sleep in.
Some individuals prefer to put their garments in a separate sack, however I prefer to maintain my garments unfastened. By maintaining my clothes unfastened, I can use particular person objects of clothes that I don’t want throughout the day to fill within the gaps.
Tip: If there’s an opportunity of rain in your backpacking journey and also you don’t have a waterproof pack cowl, earlier than you set something in your pack, line your pack with a trash bag and put all of your objects contained in the liner to remain dry.
Our Favourite Backside of Pack Gadgets
3. Pack Your “Center of Pack” Gadgets
The center part of your pack is designated for heavyweight objects. By putting cumbersome issues within the heart and as near your again as doable, you relieve your again of pointless stress. Plus, it retains issues from shifting misplaced and forcing you to hold an ungainly, uneven load.
We prefer to maintain our tent towards the highest of the center so it’s straightforward to seize in case you want to wait out rain. The center part can really feel like a sport of Tetris since these things aren’t squishy like the underside of pack objects.
- & gasoline
- Meals – usually the heaviest factor in your pack other than water
- (centered in your backpack) – stuffing garments and different small objects round your bear canister may help stabilize an awkward-shaped canister and maintain it centered.
- – typically I’ll strap these to the surface of my pack if there isn’t room inside.
Tip: If a bear canister isn’t required, I often like to hold my meals in a stuff sack so it’s contained in a single place (though heavier than a light-weight stuff sack) is an effective possibility because it additionally protects your meals in opposition to rodents.
Our Favourite Center of Pack Gadgets
4. Pack Your “Prime of Pack” Gadgets
The highest of your backpack consists of the uppermost portion contained in the pack and “the mind” – the half that’s on prime while you shut your pack. It’s sometimes a zippered compartment that may be eliminated and used as a daypack while you hike.
Right here’s what I prefer to maintain on the prime of my pack:
- – If there may be any probability of rain, you’ll need your rain gear accessible on the prime of your backpack. If it’s 100% sunshine and you realize it’s not going to rain, you possibly can stuff this round your bear canister. Pack rain pants too if there’s a very good probability of rain in your journey.
- First Support – That is essential to maintain simply accessible so that you’re not digging by way of your pack when you want one thing.
- Snacks for the path – So long as I’m not in critical bear nation, I often take my meals for the day trip of my bear canister and retailer it on the prime of my pack so it’s straightforward to entry.
- Water Filter – So it’s simply accessible when you want to refill
- Toilet Equipment (Shovel, Rest room Paper, Hand sanitizer, and a Ziploc bag to pack out used bathroom paper)
Tip: You probably have any electronics, like a battery pack, charging cords, cellphone, or GPS, retailer these in a . That approach, it retains all the things organized and also you gained’t have to fret about it getting moist in a storm.
Our Favourite Prime of Pack Gadgets
5. Pack Your Mind/Lid and Hip Belt Gadgets
These are the objects I prefer to maintain within the mind/lid of my backpacking pack for the best “grab-and-go” entry:
Hip belt pockets are additionally a fantastic place to maintain issues that you really want available like chapstick, easy-access snacks, sun shades, and different small objects.
For different miscellaneous objects, resolve whether or not you want to entry them throughout the day. If not, put them nearer to the center and use them to fill in gaps. Should you do want them, maintain them nearer to the highest.
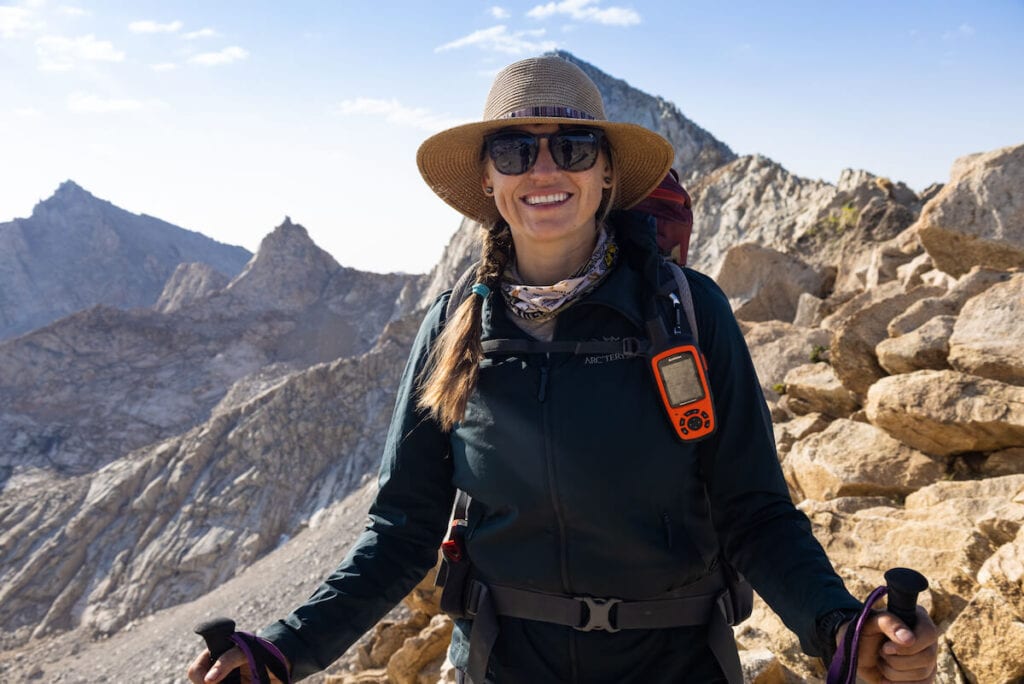
Tip: I like to recommend backpacking with a private locator beacon and GPS in case of emergency. I maintain my Garmin inReach on the surface of my pack, connected to the entrance shoulder straps, for the best entry.
Learn Extra
Backpacking Gear Guides
Right here’s a visible breakdown of easy methods to pack a backpack for tenting and mountain climbing:
The Greatest Method to Use Compression Straps
You’ll discover compression straps on the outside of your backpacking pack that can assist you stabilize the pack and alter the burden as you want. Make certain these are unfastened when you find yourself packing your backpack.
When you’ve stuffed up the backpack, buckle and tighten the compression straps. These maintain issues from shifting as you hike and assist you to really feel regular when you’re trekking over uneven terrain. Be sure to additionally tighten the aspect compression straps to create an much more cosy match and get rid of any empty house in hard-to-pack locations.
Lastly, use the compression strap in your pack’s essential exterior buckle (which connects the mind to the principle compartment) to maintain these contents compressed and in place as you progress. It may also be annoying when it’s unfastened and bumps round as you hike.

Strapping Gear to the Outdoors of Your Pack
Should you’ve ever questioned, “what are these loops on the perimeters of my backpack?”, you’re not alone. These loops can be utilized to safe lengthy, stiff, or cumbersome objects to your pack, akin to , tent poles, or . You may even strap your sunhat to your pack for straightforward entry, and a few backpacking packs also have a helpful slot for sun shades.
You may see some strings of small loops sewn onto your backpacking pack, often on the straps and the entrance part of your backpack – these are daisy chains. They make it straightforward to clip gear on utilizing small, light-weight carabiners (that is how I carry my Garmin inReach for instance).
I additionally prefer to maintain my Kula Fabric snapped to the surface of my pack for each day hikes and backpacking journeys.
It’s not a good suggestion to have something heavier/bigger than a baseball cap dangling off of or swinging backwards and forwards in your pack. You will get caught, upset your steadiness, hit different issues or individuals, and usually, it’s simply kind of annoying.
Backside line: Hold issues tightly secured and manageable.
You should utilize gear ties to assist safe something to your pack that is perhaps on the surface when you don’t have many loops to make use of.
If you end up strapping a ton of stuff to the surface of your pack, it is best to do a gear audit and see if there may be something you possibly can depart at house, or it is perhaps time to get an even bigger pack. Counting on strapping extra gear to the surface of your pack can grow to be problematic if you find yourself in an surprising rainstorm.
A Notice on Hydration Reservoirs
I just about all the time use a once I’m day mountain climbing. However once I’m backpacking I discover hydration reservoirs make it way more tough to pack your backpack effectively.
They take up a whole lot of room and likewise when you run out of water, you’ll in all probability must unpack half your bag simply to refill your reservoir. If I’m solo backpacking (which I not often do), a hydration reservoir is an effective alternative as a result of I can sip as I am going with out having to take off my pack and I don’t have anybody handy me my water.
Nevertheless, if I’m mountain climbing with associates, I prefer to convey 3 light-weight, foldable mushy water bottles as a substitute. They weigh nothing and pack down very small when you don’t want all three liters. That approach, they’re straightforward to entry and refill with filtered water on the path as you go.
You must also remember to distribute your water weight evenly onto either side of your backpack.
Bought any questions on easy methods to pack a backpacking pack? Or any extra tricks to share? Depart a remark beneath.
Associated
